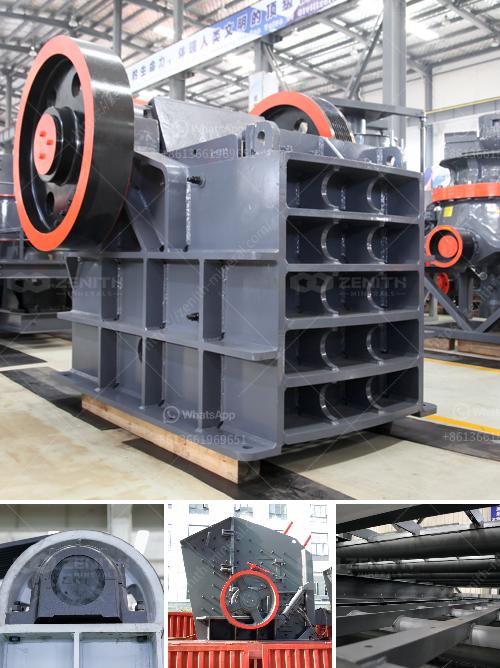
Changing the toggle plate and toggle seat in a jaw crusher is a critical maintenance task that ensures the crusher operates efficiently and safely. Here is a detailed step-by-step guide on how to perform this task:
Tools and Materials Needed:
- Wrenches and Sockets: Various sizes to fit the bolts and nuts.
- Hydraulic Jack: To lift and support the components.
- Replacement Toggle Plate and Toggle Seat: Ensure they are the correct size and specification for your jaw crusher model.
- Lubricant: To ease the removal and installation process.
- Safety Gear: Including gloves, safety glasses, and a hard hat.
Step-by-Step Procedure:
1. Preparation:
- Safety First: Ensure the crusher is turned off and locked out to prevent accidental startup. Wear appropriate safety gear.
- Clear the Area: Remove any debris or obstructions around the crusher to provide a safe working environment.
2. Access the Toggle Plate and Toggle Seat:
- Remove the Jaw Crusher Cover: Depending on the design, you may need to remove the cover or access panel to reach the toggle plate and seat.
- Release Tension: If the crusher has a tension rod, release the tension to allow for easier removal of the toggle plate.
3. Remove the Old Toggle Plate:
- Loosen the Bolts: Using the appropriate wrenches or sockets, loosen and remove the bolts securing the toggle plate.
- Remove the Toggle Plate: Carefully remove the toggle plate. You may need to use a hydraulic jack to lift the jaw slightly to free the toggle plate.
4. Inspect the Toggle Seat:
- Check for Wear and Damage: Inspect the toggle seat for any signs of wear or damage. If the seat is worn or damaged, it should be replaced.
- Remove the Toggle Seat: If replacing, remove the old toggle seat by loosening the securing bolts and lifting it out.
5. Install the New Toggle Seat:
- Position the New Seat: Place the new toggle seat in position, ensuring it is aligned correctly.
- Secure the Seat: Tighten the bolts to secure the toggle seat in place. Ensure it is firmly seated and there is no movement.
6. Install the New Toggle Plate:
- Position the Toggle Plate: Place the new toggle plate in position. You may need to use the hydraulic jack to lift the jaw slightly to fit the toggle plate.
- Secure the Toggle Plate: Insert and tighten the bolts to secure the toggle plate. Ensure it is properly aligned and seated.
7. Re-tension the Crusher:
- Adjust the Tension Rod: If your crusher has a tension rod, adjust it to the correct tension as specified in the manufacturer’s manual.
- Check Alignment: Ensure the toggle plate and seat are properly aligned and there is no excessive play.
8. Reassemble and Test:
- Replace the Cover: Reattach any covers or access panels that were removed.
- Test the Crusher: Turn on the crusher and observe its operation. Listen for any unusual noises and check for proper movement of the toggle plate and seat.
Tips and Warnings:
- Regular Maintenance: Regularly inspect the toggle plate and seat for wear and replace them as needed to prevent damage to other components.
- Manufacturer’s Manual: Always refer to the manufacturer’s manual for specific instructions and torque specifications.
- Safety: Never attempt to change the toggle plate and seat while the crusher is in operation. Always follow proper lockout/tagout procedures.
By following these detailed steps, you can ensure that the toggle plate and toggle seat in your jaw crusher are replaced correctly, maintaining the efficiency and safety of your equipment.

