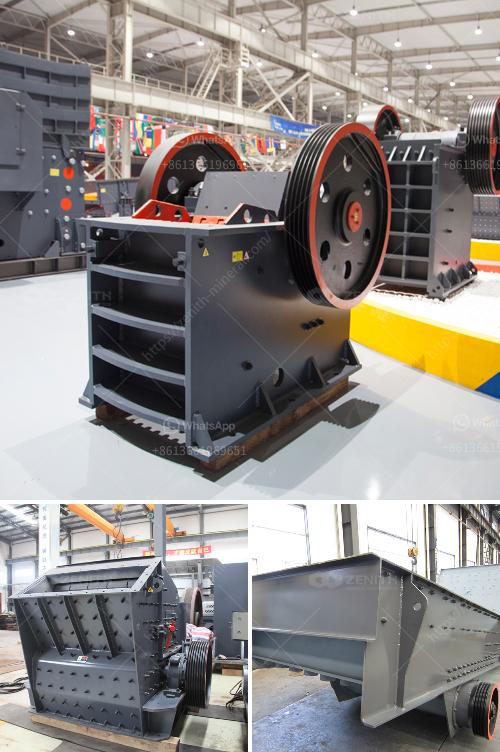
Replacing a broken bearing in a jaw crusher is a complex task that requires careful attention to detail to avoid further damage to the machine or injury. Here is a step-by-step guide to assist you:
Tools and Materials Needed:
- Replacement bearing
- Bearing puller
- Socket wrench set
- Screwdrivers
- Hammer
- Hydraulic press (optional)
- Safety gear (gloves, safety glasses)
Steps:
-
Safety First:
- Ensure the machine is turned off and disconnected from any power sources.
- Wear appropriate safety gear, such as gloves and safety glasses.
-
Disassembly:
- Remove the jaw crusher cover plate and any components obstructing access to the bearing.
- Use a socket wrench to remove the bolts securing the bearing housing.
- Carefully detach the bearing housing from the crusher frame.
-
Remove the Old Bearing:
- If the bearing is damaged, it may be necessary to use a bearing puller to extract it. Attach the bearing puller to the inner race of the bearing.
- Gradually tighten the puller to remove the bearing from its shaft.
- In some cases, it may be necessary to use gentle taps with a hammer to assist in removal, but be cautious to avoid damaging the shaft or surrounding components.
-
Clean the Assembly Area:
- Inspect the bearing seat and shaft for any signs of wear or damage.
- Clean the area thoroughly to ensure that no debris or old grease remains.
-
Install the New Bearing:
- Position the new bearing onto the shaft. You might need a hydraulic press to press it into place if the fit is tight.
- Ensure that the bearing is seated correctly and flush with the bearing seat.
-
Reassemble:
- Reattach the bearing housing to the crusher frame.
- Secure the housing with bolts, ensuring they are tightened to the manufacturer’s specification.
-
Lubrication:
- Apply the appropriate lubricant to the new bearing as recommended by the manufacturer.
- Make sure the bearing is adequately greased to ensure smooth operation and longevity.
-
Reattach Components:
- Reattach any components that were removed to access the bearing.
- Ensure all bolts and screws are securely fastened.
-
Testing:
- Reconnect the machine to the power source.
- Test the jaw crusher to ensure it operates smoothly without any unusual noises or vibrations.
-
Final Inspection:
- Perform a final visual inspection to ensure everything is in place and functioning correctly.
- Monitor the crusher for a short period to confirm the repair was successful.
Notes:
- Refer to the jaw crusher's manual for specific instructions related to your model.
- If you're unsure about any part of the process, consider consulting a professional technician.
Always prioritize safety and follow standard operational procedures to prevent accidents and ensure optimal performance of your jaw crusher.

