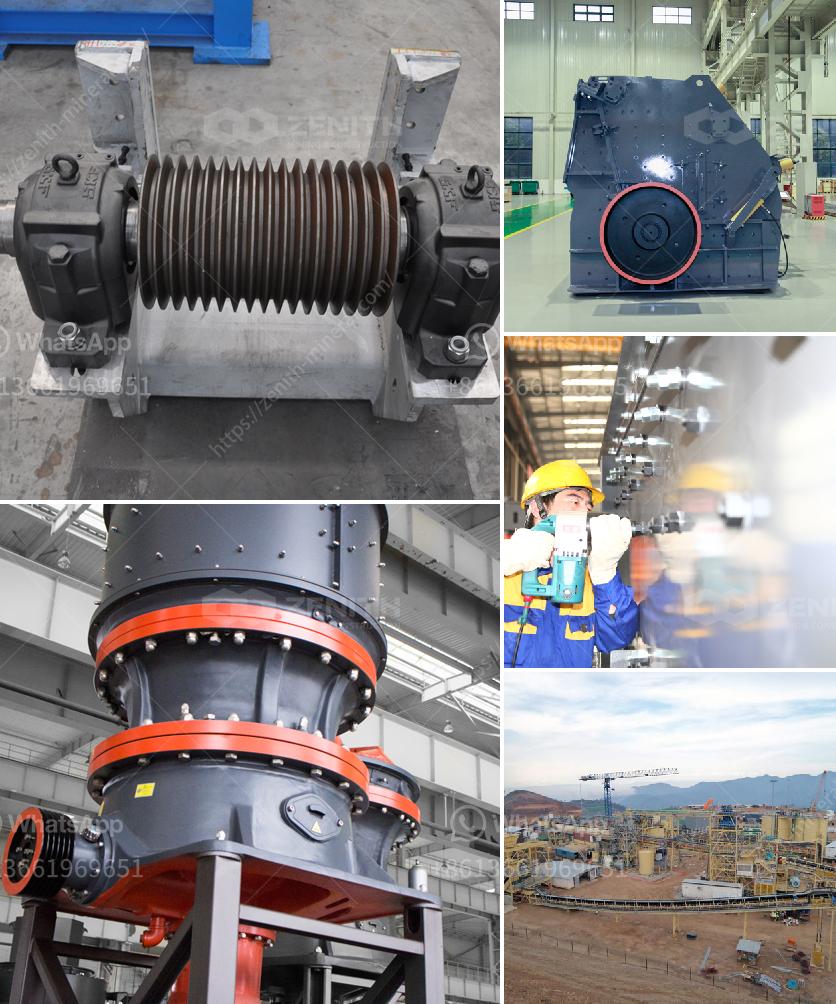
To remove the gasket on a mineral ball mill, follow these steps carefully:
-
Safety First:
- Turn off and disconnect the ball mill from any power sources.
- Wear appropriate safety gear, including gloves, safety glasses, and a dust mask if necessary.
-
Access the Gasket:
- Depending on the ball mill model, you may need to remove protective covers or panels to access the gasket area.
- Consult the ball mill’s manual to locate the gasket and the best access points.
-
Loosen Bolts or Screws:
- Use the appropriate tools (usually a wrench or socket set) to loosen and remove any bolts, screws, or clamps that secure the gasket in place.
- Place them in a safe location for reinstallation.
-
Remove the Gasket:
- Carefully pull the gasket away from its seating area. If the gasket is old or stuck, you may need to gently pry it off using a flathead screwdriver or a gasket scraper.
- Be careful not to damage the seating area or any adjacent surfaces.
-
Clean the Surface:
- Before installing a new gasket, clean the seating area thoroughly.
- Remove any residue, dust, or old gasket material using a soft cloth or a gasket scraper.
- Ensure the surface is smooth and free of contaminants for the new gasket.
-
Inspect the Area:
- Check for any signs of wear or damage around the gasket area.
- Address any issues before installing a new gasket to ensure a proper seal.
Remember to consult the specific manual for your mineral ball mill model, as procedures can vary slightly between different manufacturers and models. If in doubt, reach out to the manufacturer’s support team for guidance.


