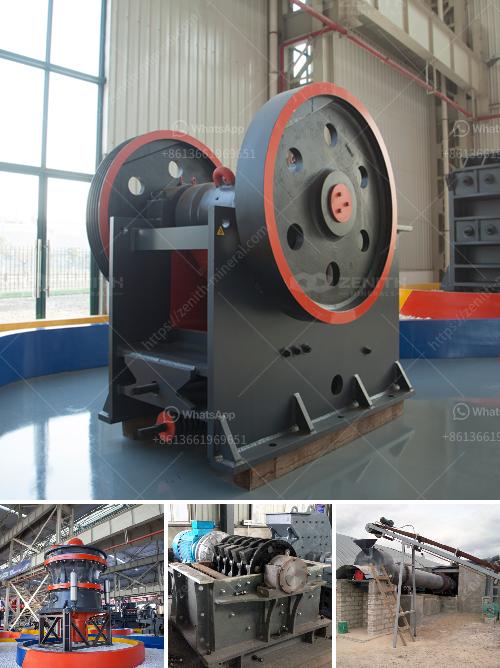
Welding a broken jaw plate of a jaw crusher is a complex task that requires careful preparation, the right materials, and precise execution to ensure the repair is durable and effective. Here is a detailed guide on how to weld a broken jaw plate:
1. Safety Precautions
Before starting any welding work, ensure you have the necessary safety gear:
- Welding helmet with appropriate shade.
- Welding gloves to protect your hands.
- Protective clothing to shield your body from sparks and heat.
- Safety glasses to protect your eyes from flying debris.
- Respirator to avoid inhaling harmful fumes.
2. Preparation
- Clean the Area: Remove any dirt, grease, or debris from the broken jaw plate. Use a wire brush or grinder to clean the surface thoroughly.
- Inspect the Damage: Assess the extent of the damage to determine if welding is a viable option. If the jaw plate is severely damaged, it might be better to replace it.
- Preheat the Metal: Depending on the material of the jaw plate (usually high manganese steel), preheating might be necessary to avoid cracking. Preheat the area to around 250-300°C (482-572°F).
3. Choosing the Right Welding Rod
- High Manganese Steel: If the jaw plate is made of high manganese steel, use austenitic manganese steel welding rods. These rods are designed to handle the high impact and abrasion that jaw plates endure.
- Other Materials: If the jaw plate is made of a different material, choose a welding rod that matches the base material.
4. Welding Process
- Positioning: Secure the jaw plate in a stable position to prevent movement during welding.
- Tack Welding: Start with tack welds to hold the broken pieces together. Place tack welds at intervals along the break to ensure alignment.
- Welding Technique: Use a stringer bead technique to weld the broken jaw plate. This involves making a series of straight, narrow welds. Avoid weaving, as it can introduce more heat and cause warping.
- Interpass Temperature: Maintain an interpass temperature of around 250-300°C (482-572°F) to prevent the metal from cooling too quickly and becoming brittle.
- Post-Weld Heat Treatment: After welding, allow the jaw plate to cool slowly. This can be done by covering it with an insulating blanket or placing it in a controlled environment to cool gradually.
5. Inspection and Testing
- Visual Inspection: Check the weld for any visible defects such as cracks, porosity, or incomplete fusion.
- Non-Destructive Testing (NDT): Perform NDT methods like ultrasonic testing or magnetic particle inspection to ensure the integrity of the weld.
- Hardness Testing: Check the hardness of the welded area to ensure it matches the rest of the jaw plate.
6. Reinstallation
- Fitment Check: Ensure the repaired jaw plate fits correctly in the jaw crusher.
- Lubrication: Apply appropriate lubrication to the jaw plate and other moving parts.
- Testing: Run the jaw crusher without load to ensure everything is functioning correctly. Gradually introduce material to test the performance under working conditions.
Conclusion
Welding a broken jaw plate of a jaw crusher requires careful preparation, the right materials, and precise execution. By following the steps outlined above, you can ensure a durable and effective repair. Always prioritize safety and consider consulting with a professional welder if you are unsure about any part of the process.


