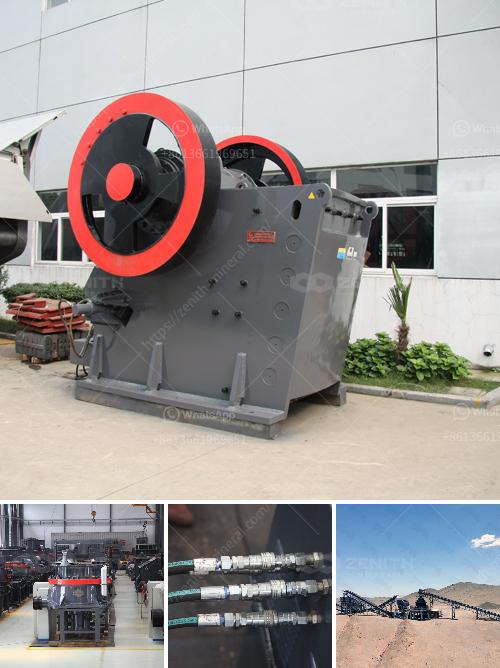
Splicing a crusher belt conveyor is a crucial process to ensure the efficient and continuous operation of the conveyor system. Here's a step-by-step guide to help you through the process:
Tools and Materials Needed:
- Belt Splicing Kit (including bonding material, adhesive, and fasteners)
- Cutting Tools (e.g., sharp knife or belt cutter)
- Clamps
- Splicing jig or press
- Personal Protective Equipment (PPE) (e.g., gloves, goggles)
- Measuring tools
- Brushes
- Power source (if using a vulcanizing press)
Step-by-Step Guide:
1. Safety First
- Ensure the conveyor system is completely shut down and locked out/tagged out.
- Wear appropriate PPE such as gloves and goggles.
2. Prepare the Belt
- Clean the belt surface to remove any dirt, grease, or contaminants.
- Trim the ends of the belt to ensure they are straight and even. You may need to use a belt cutter for a clean cut.
3. Position the Belt
- Align the two ends of the belt so they meet perfectly. Use clamps to hold them in position.
4. Mark and Cut the Belt
- Mark the belt where the splice will occur. Ensure accurate measurements according to the belt type and manufacturer’s specifications.
- If doing a finger splice, use a template to cut multiple "fingers" into the ends of the belt.
5. Apply Adhesive
- Apply the bonding adhesive to both ends of the belt. Be sure to follow the adhesive manufacturer’s instructions regarding temperature and curing time.
- Use a brush to evenly distribute the adhesive.
6. Join the Belt Ends
- Carefully join the belt ends together, ensuring the alignment remains perfect.
- Press the joined ends together firmly. If using a splicing jig or press, set it up and apply pressure as per the equipment guidelines.
7. Curing Process
- Allow the splice to cure as per the adhesive or vulcanization process instructions. This could involve a specific temperature and pressure for a certain amount of time.
8. Inspect the Splice
- Once cured, inspect the splice for any gaps, misalignments, or defects.
- Trim any excess material if needed.
9. Reinstall the Belt
- Reinstall the belt on the conveyor system.
- Ensure proper tension and alignment of the belt.
10. Test the Conveyor
- Power up the conveyor system and conduct a test run to ensure the splice holds and the conveyor operates smoothly.
- Keep an eye out for any irregularities in belt movement or tracking.
Maintenance Tips:
- Regularly check the splice during routine maintenance to ensure its longevity.
- Address any signs of wear or damage immediately to prevent unplanned downtime.
By following these steps carefully, you can effectively splice a crusher belt conveyor and maintain the efficiency and productivity of your conveyor system.

